Saturday 29 September 2012

The Van Gets Primer

The nice guys down at Cotswold Group Bodyshop have been busy prepping the van. We had a quick visit yesterday to look at where they're at and were very impressed.

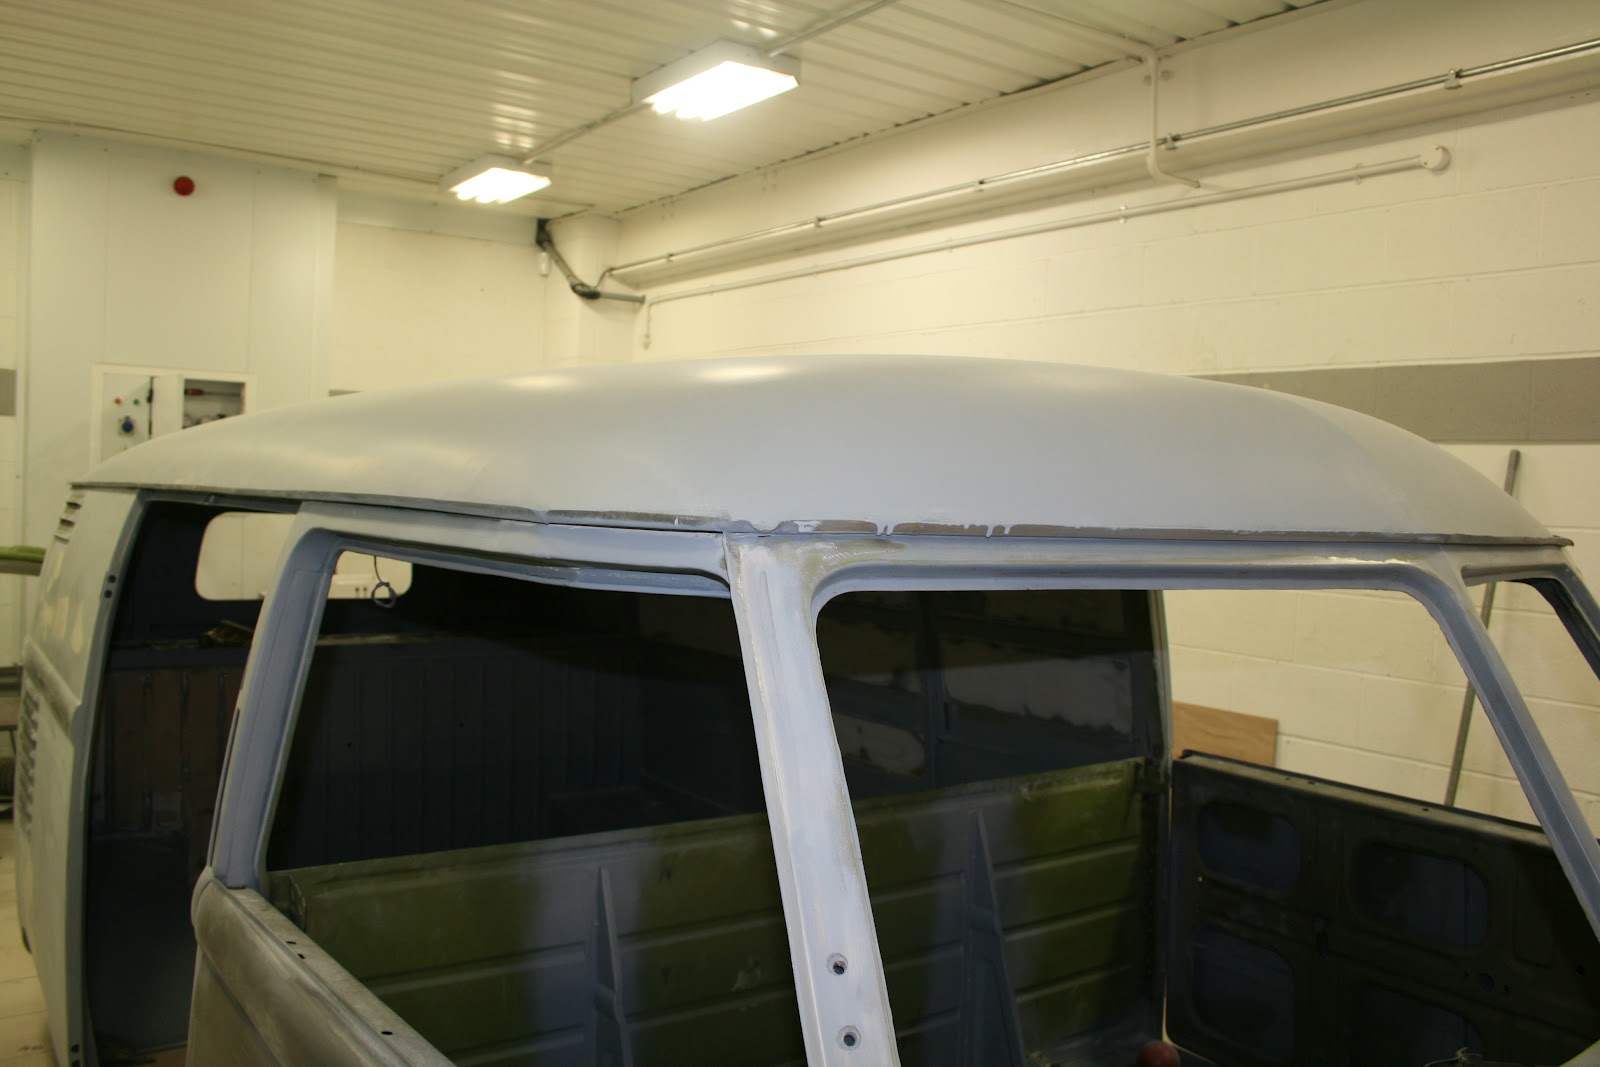
They've been blocking the roof, back and sides of the van. Basically, they apply a coat of black paint and then primer on top, then rub the primer down - as the black starts to appear underneath, they can detect the highs and lows of the bodywork to work out where the panels are not perfectly straight or level, then they know where to focus their attention on more bodywork. Then its all rubbed back again and the whole process begins with more black paint then the primer. They keep doing this until the body work is arrow straight then its rubbed back and gets its first coat of primer:

Below you can see some of the black under the primer:


You can see the profile of the swage line much clearer now there is some base colour on the front panel. 


Friday 28 September 2012

Chassis Schematic

Long before the body was finished, we took very detailed measurements of the chassis and conduit runs and have produced a diagram with all these details on it.

We are happy for anyone to make use of this diagram in their restoration, but please acknowledge us as the source. We know that these details are 100% correct for our 1952 van, but the conduit routes did change from year-to-year.


Thursday 27 September 2012

The Lower Engine Block Virtually Done

We've continued to assemble the engine, fitting up more NOS parts and the lower engine block is now virtually finished:

Below we are using feeler gauges to set the tappets:


Here the cylinder head tinware is now fitted over the top of the cylidners. Note: early engines include a piece that fits between the barrel & piston and the block, so you need it in place first.

Here you can see the covers from the top:

Rocker covers, rocker cover gaskets and clips now fitted up as the valve adjustments are all done.


We can turn the engine upside down on our engine stand so we can fit up the sump plate and sump gaskets:


The early pre '60 heater boxes are treated to some heat-resistant paint, then gloss black, then lacquered.
These will be fitted upto the engine very soon. 

Next we fit up the correct pre '53 Distributor. The early engines had a flat topped distributor with the wires coming out of the side. The NOS is perfect and complete with original BOSCH plate.

The view from the top showing the rotor arm and points in place. 

The correct early style flat cap is now fitted.

The basic lower block of the engine is now finished. Next we will fit the heater boxes, the exhaust and then work on the upper engine such as the manifold, carburettor, the fan and thermostat and fan shroud.

We will also attach a spare gearbox with the starter motor and very soon fire it up back into life. We'll video the start up and post it on the blog for you all to see!!

Monday 17 September 2012

Engine Build Continues....

Work continues assembling the engine. 

You can see below that this side of the case is now finished. The con-rods are sticking out ready for the pistons / barrels to be attached.


Below you can see the correct 25hp oil pump fitted. You can use any pre 1967 oil pump on these engines, but the correct one has a thinner plate as the edges / sides are more curvy

Now you can see below the correct domed-top oil cooler and the barrels fitted
You can again use a standard single-port oil cooler, but we had a few original 25hp domed top ones lying about so we used the correct one. Again with barrels & pistons, we can sometimes supply sets of 25hp ones, but readily available are 30hp ones.

Engine studs are all now in place ready to accept the cylinder heads.

Work now starts on lapping in the engine valves. Note here the difference between these two exhaust valves. The one on the left has a cut-in mark around it. We can supply valves for all years and sizes of engine.

Here we are setting the end float, we carefully measure this as its essential to set this correctly.  We offer a handy little tool for doing this yourself. Click here.

The crankshaft main oil seal is now fitted

Next the flywheel and gland nut go on

The fuel pump is now in place and the dip stick fitted with the blob of red paint to high-light a service point.