Thursday, 12 January 2012

Wheels

This morning we collected 5 shiney newly painted wheels from the paintshop.

The wheels are painted in L82 Silver White which is the original colour. Gloss finish.


Just got to get the tyres fitted, then a final polish then they're ready to go on the van!

Wednesday, 4 January 2012

And The Award For The Painting Goes To.......

..... Trevor Franklin at The Cotswold Bodyshop.

We weren't going to let anyone with a paint gun paint our van - it had to be someone we could trust, someone who understood the level of detail we were aiming for, someone who completely grasped the entire concept of the project from the very first time we spoke to them. We are pleased to report that we've found them: Trevor Franklin at The Cotswold Bodyshop.

They recently painted a race-car for a friend of ours and we were utterly blown away by the standard they had achieved.

Having discussed the project several times with them over the last 4-6 weeks, at every time they completely understood what we were trying to achieve. Their level of customer feedback and customer support is exactly the same as what we aim to deliver to our customers.

Their multi-award winning, multi-million pound, state of the art complex only built in 2008 paints and finishes only the finest car marques you can think of: BMW, Aston Martin, Bentley, Porsche, Audi and Mercedes-Benz to name a few.

They have already been given the wheels to paint and we'll detail the work involved and photos as soon as we get them back in the next week or so.

Friday, 16 December 2011

Merry Christmas & Happy New Year

We just wanted to wish all our customers and followers all the very best for Christmas & the New Year

Lots more to do on the van in 2012. Look out for some SERIOUSLY big changes in late January 2012 as we have a blitz week!

All the Best!

Wednesday, 14 December 2011

Cutting Corners.....!

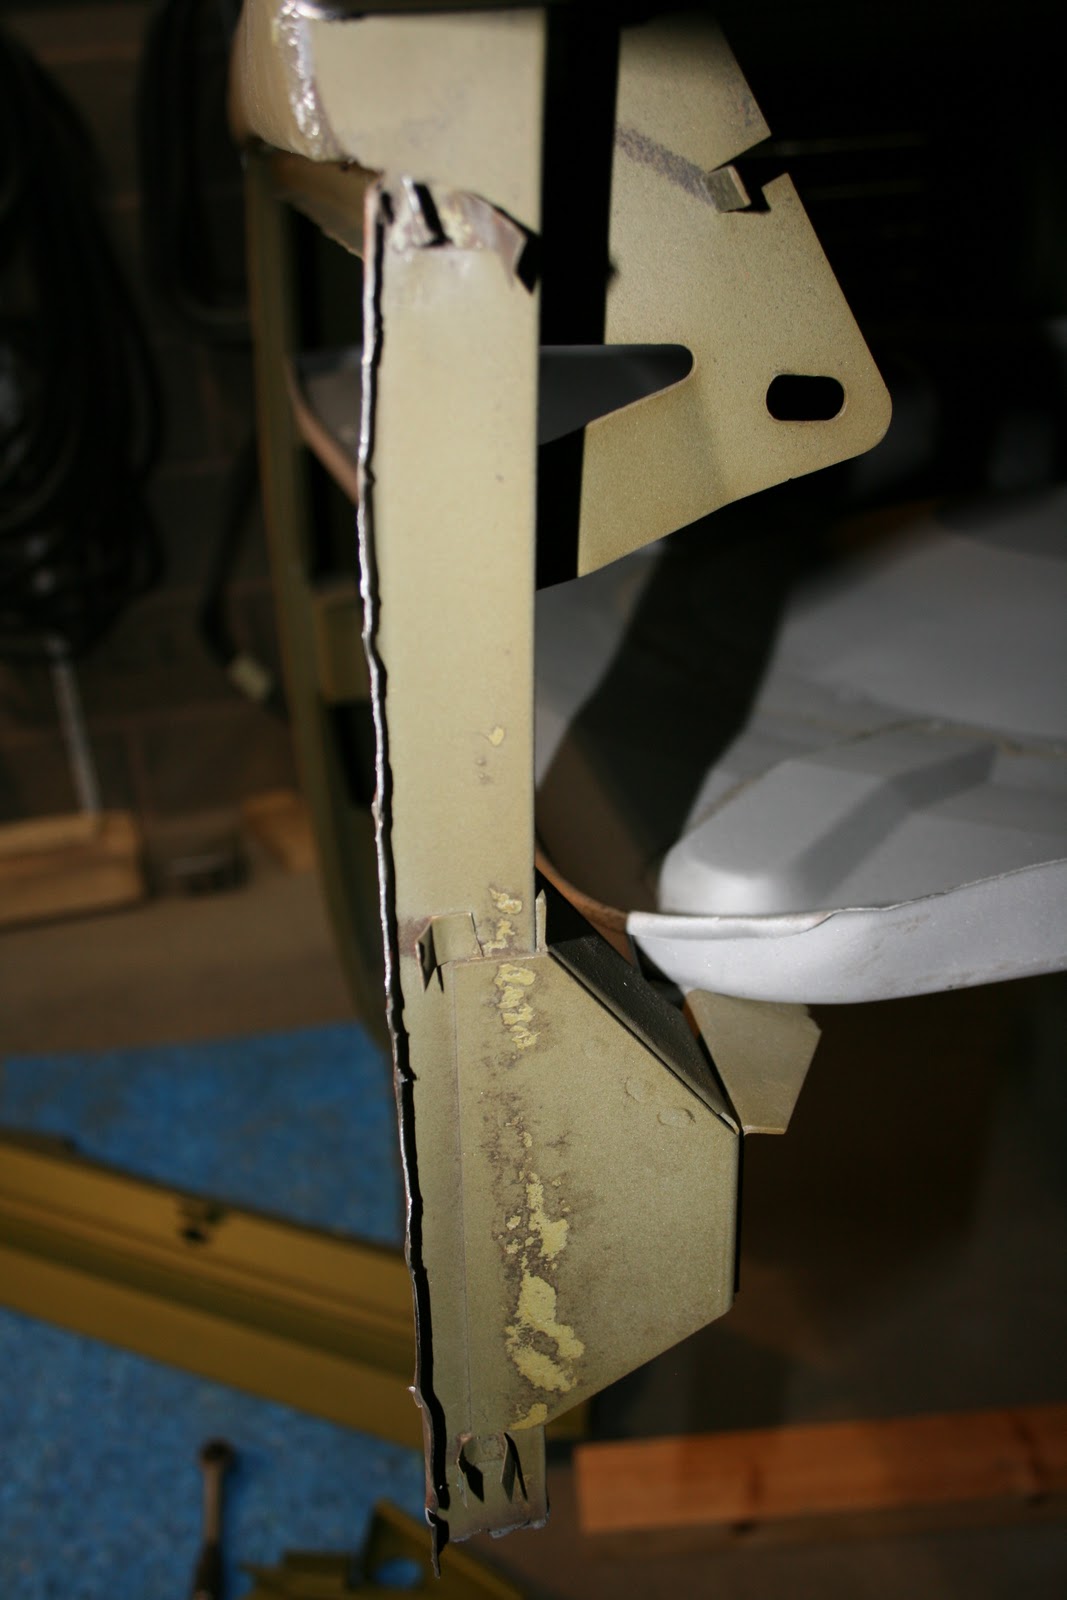
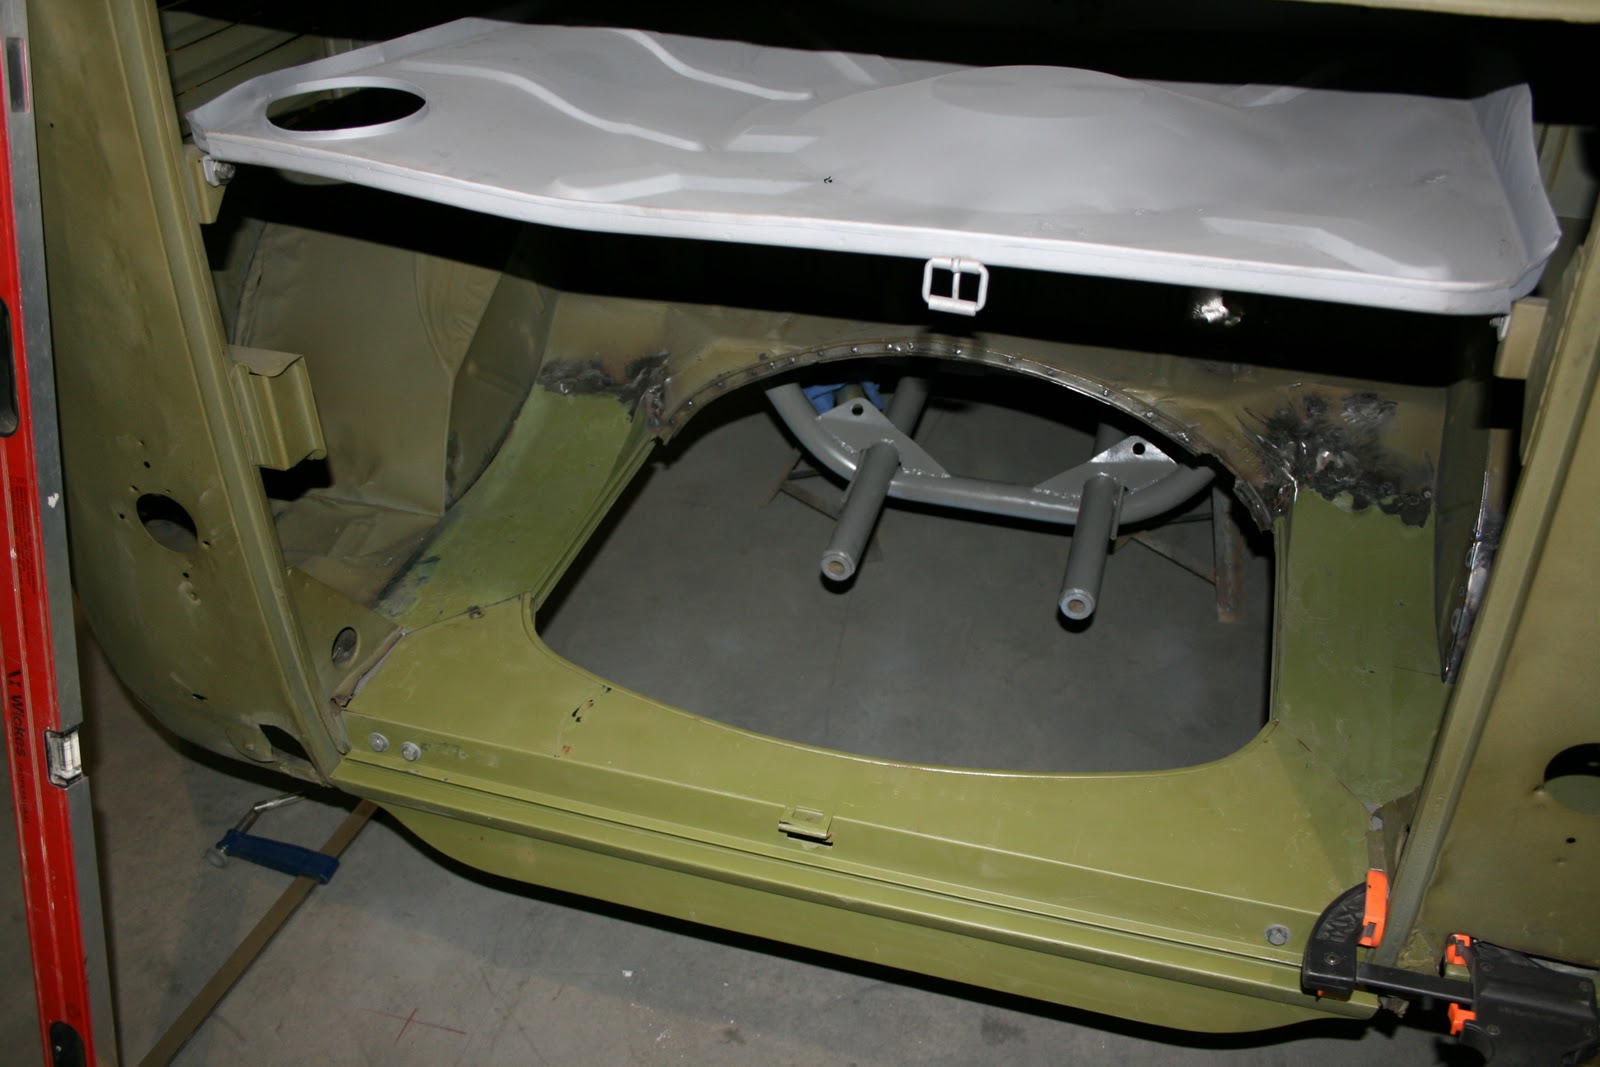
Yep, we're cutting corners, and no, we're not cheating!!! We've been busy cutting the first corner off the van, ready for the new one to go into place:

Here you can see the corner missing. We first made sure that the RHS short side was perfectly aligned so that we keep the panel seem between the side and the corner perfect.


Not really much left of the corner now!


On the inside edge of the engine door upright are the small tabs that held the wiring in place for the number plate light and brake light in the decklid. These will be repaired where necessary and this portion of the upright re-used.

Offered up for a trial fit is the new rear corner.


Its very important for us to keep the alignment of any new panels in the exact same position as the original one. Ensuring that the panel lines up properly before its welded in place is essential for the finished van to look right.

Tuesday, 13 December 2011

Trial Fitting.

With the body back on the chassis (it did fit btw), we've started to trial fit some more body panels, just to make sure things are lining up or if some of the panels need some tweaking.

The rear valence is bolted into place to check the fit against the engine bay plates:


One half of the rear cargo floor is offered into place to check the fit of the 'C' post and also the fit against the bulkhead panel

We've also got the small rear 1/4 panel side in place here to again make sure that the cargo floor will fit against this properly too.

Thursday, 8 December 2011

The Chassis is FINISHED !!

After months and months of cutting, welding, grinding then hours and hours of prep in the primer stage, the chassis is now totally finished and ready to go back under the van.


Here you can see the main central part of the chassis

From the back looking forwards:


Showing the gearbox cradle, rear torsion tube and the back of the chassis


Front view looking between the chassis leg frame liners - note the correct 5 ribbed fingers. These were used from approx October 1950 onwards, prior to that, 6 and 7 ribs were used.


So after months and months of work, the chassis is finally done and ready to be re-united with the body.

Wednesday, 7 December 2011

Chassis Gets Primer

After what seemed like endless hours of hi-build primer, flatting back, more primer, flatting back, we're now really pleased with the finish on the chassis, so its time for some proper primer:

You can see the yellow hi-build primer underneath and we're starting to apply the grey primer on top.

First coat of primer now applied to the underneath. You guessed it, more flatting back.......