Friday, 15 June 2012

Tail Lights & Reflectors

The mid to late 1952 vans had a very unusual rear reflector bulge as part of the rear corner. These corners are just not available and no one makes the correct late 1952 only ones, so its a case of fabricating it from scratch, which is exactly what we did.

The late 1952 models had two rear reflectors (from chassis number 20-023750 onwards), but unlike the earlier or later vans, the late '52 had this bulge that the reflector is mounted onto:

The view from the top looking down onto the reflector:

Looking from underneath upwards. Note the Hella logo in the reflector, the large diamond pattern and markings around the rim.


Tail light and reflector in place:
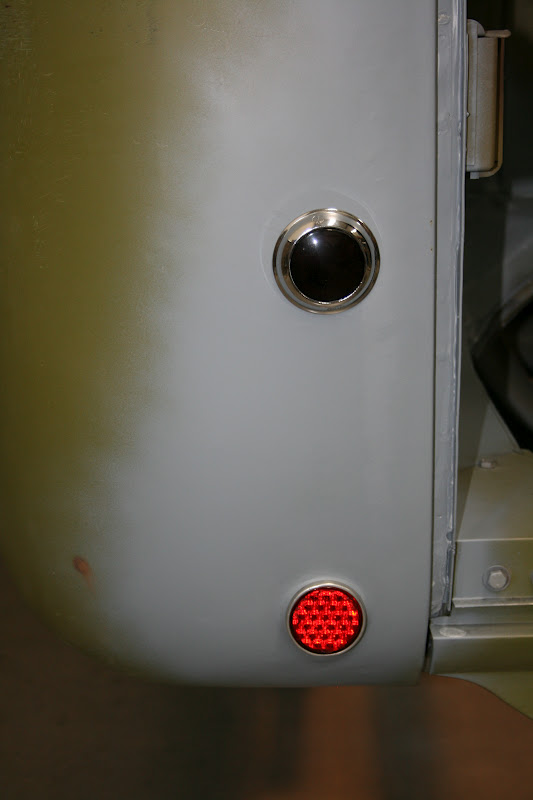
The back end is now looking very Barndoor ish!!!Tail lights and reflectors all in place!


Rear Firewall Bulkhead

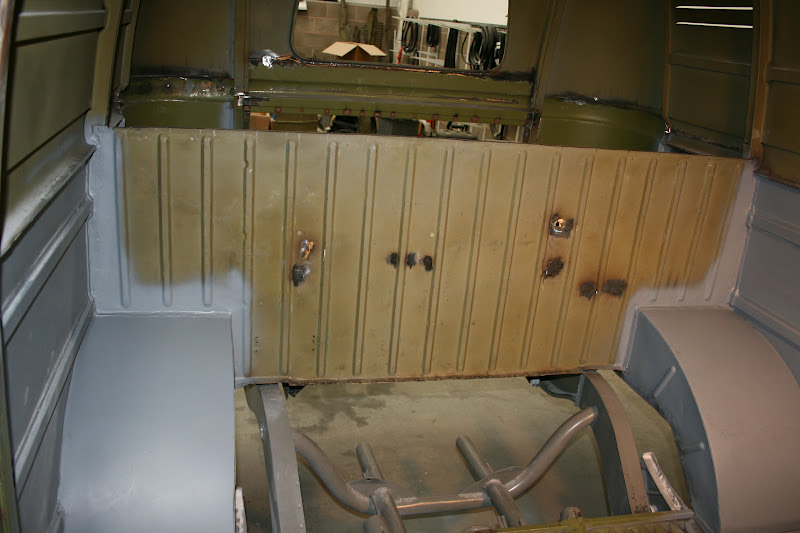
The rear bulkhead was removed so Carl could work on it properly. He made a die that's the shape of the ribs in the metal so he could straighten out the ribs properly. Once these were straight, he could work on the panel itself.


Still some more work to do to weld up some holes that shouldn't be there, but easier to do this whilst the panel is fitted back into the van.


The bulkhead can now be finished off and then the parcel tray can be fitted back in.

Thursday, 14 June 2012

Re-Building The Back End

After stripping all the firewall and bulkhead pieces along with the rear wheel arches out of the van, we've been working on these to straighten them out, repair then and then re-fit them

Nearside rear wheel arch tub is now in place. The bracket sticking up to the left is the fuel tank mounting plate.

The nearside is now in place too

The 'S' shaped pipe is the water drain tube from the spare wheel tray.


With the rear wheel tubs in place, we can now work on the firewall bulkhead

Friday, 18 May 2012

Rear Wheel Arch Tubs

Not ones to leave anything un-touched, we thought we'd take the lot of the back out, so it can be worked in properly:


Both inner rear wheel arches and the lower bulkhead section are now out of the van. These are all the originals and will not be replaced, but re-worked and repaired where necessary and then put back into place.


Cargo Door Side Sill

With the short side panel and 'C' post now firmly in place and the door alignments done, the cargo door side sill can now go on.

Nice and equal join between the sill and side panel:


The small 'blisters' you can see are drain holes and we are going to change these. This repair panel does not have the pressings as large as they should be. The originals were more 'pronounced' in the shape, and slightly larger, so as we're not happy with this panel, we'll cut out the indent, make new ones and weld them in.

Latch plate now in place for the side door lock bars.

Rear Firewall & Bulkhead

The rear firewall and bulkhead was badly dented, but not really rotten or rusty. We decided to remove the whole lot so we can work on it properly.


For now, we've left the wheel arches and the lower part of the bulkhead in place. You can see the water drain pipe that connects to the spare wheel tray sticking up in the middle


Here's the rear bulkhead and then the rear parcel shelf removed. Carl will make a mould of the ribbing to be able to knock these back into shape


Saturday, 5 May 2012

Side Cargo Doors

Moving back down to the side of the van, we've been working on the side cargo doors.

Here the two cargo doors are bolted into place for a trial fit. We still need to loads of adjustments to get the door lines perfect, but not bad for a first fit


The rear door is a NOS one we managed to find whilst the other is the original that we've re-skinned and repaired

Carl has completely re-built this door and used plug-welds to give an original factory finish. He took measurements of the old door and took note of the spacing between the welds so the newly re-built door looks exactly like a factory one

Once painted, you will not be able to tell the difference between the NOS door and the re-built one.