Monday, 26 November 2012

Visiting The Paint Shop

We had a trip down to see the van at The Cotswold Group Body Shop over the weekend to see the progress on the van. We were utterly blown away with the paint work. Really, really pleased!!!

The cab area now finished:

The bulkhead divider panel

The front panel / dashboard area and dash pod bracket:

The engine bay area:

and in more close-up detail:

However, it was the rear cargo area that totally blew us away. The attention to detail on the ribbing is amazing. They've really put a massive amount of effort into getting the ribs to be perfect:


Still a fair amount to do yet, but its looking stunning and we're really, really pleased with it. Well done to the guys at Cotswold Group! THANKS!

Thursday, 22 November 2012

More Paint.....

The excellent people down at Cotswold Group Bodyshop have been mega busy doing even more paint!

Here's the latest pics:

Here they are masking up areas ready to start painting

The engine bay looking resplendent in Dove Blue


The cab area now painted in Dove Blue too!


And the rear cargo area in Grey


We're off to visit the van tomorrow, so more pics to follow soon!

Friday, 16 November 2012

COLOUR !!!!

After nearly 18 months since the van first rolled into our warehouse, its been Green.

It was Green when we bought it, when we had it blasted and etch primed it was green and nearly all the repair panels we've used were green. So when the day finally arrived yesterday that we saw some blue - it was a massive milestone.........

The bumper beautifully painted in Dove Blue and White.


Remember those gnarly beat up side cargo doors.......

Now look at them:


The rear valence is all done and ready now too:


Remember that rather sorry looking dash pod:

Yep, this is the same one.....:


Remember those beat up, bent, twisted and mangled cab doors........

Here they are now all perfectly painted ready to go back on the van:


And Even More Paint.....

After months of prep and primer, the guys at Cotswold Group Bodyshop have been applying some of the Grey to the inside parts of the doors of the van:


They also painted the badge too:


Thursday, 15 November 2012

More Paint!

The nice people at Cotswold Group Body shop have been busy prepping the doors and door frames, bumpers, badge, etc.


Here you can see the door top frames being primed before painting

Here the engine lid and bumper get some pre-prime treatment

Not forgetting the front badge too:

The van is nearly ready for some colour to go on which is very exciting

More pics to follow soon of the engine being built up too!

Tuesday, 16 October 2012

Ready for Final Prep & Primer

The guys at Cotswold Group Bodyshop have been continuing non-stop on the van, getting the bodywork as perfect as possible

Blocking and priming, rubbing back, tweaking, more blocking, more priming, more rubbing back. The van is now ready for its final prep and proper primer prior to some colour going on:

The rear corner having its final prime / block before proper priming

The engine bay looking ready for final priming

Looking through the side cargo doors into the loading area. Looking good!

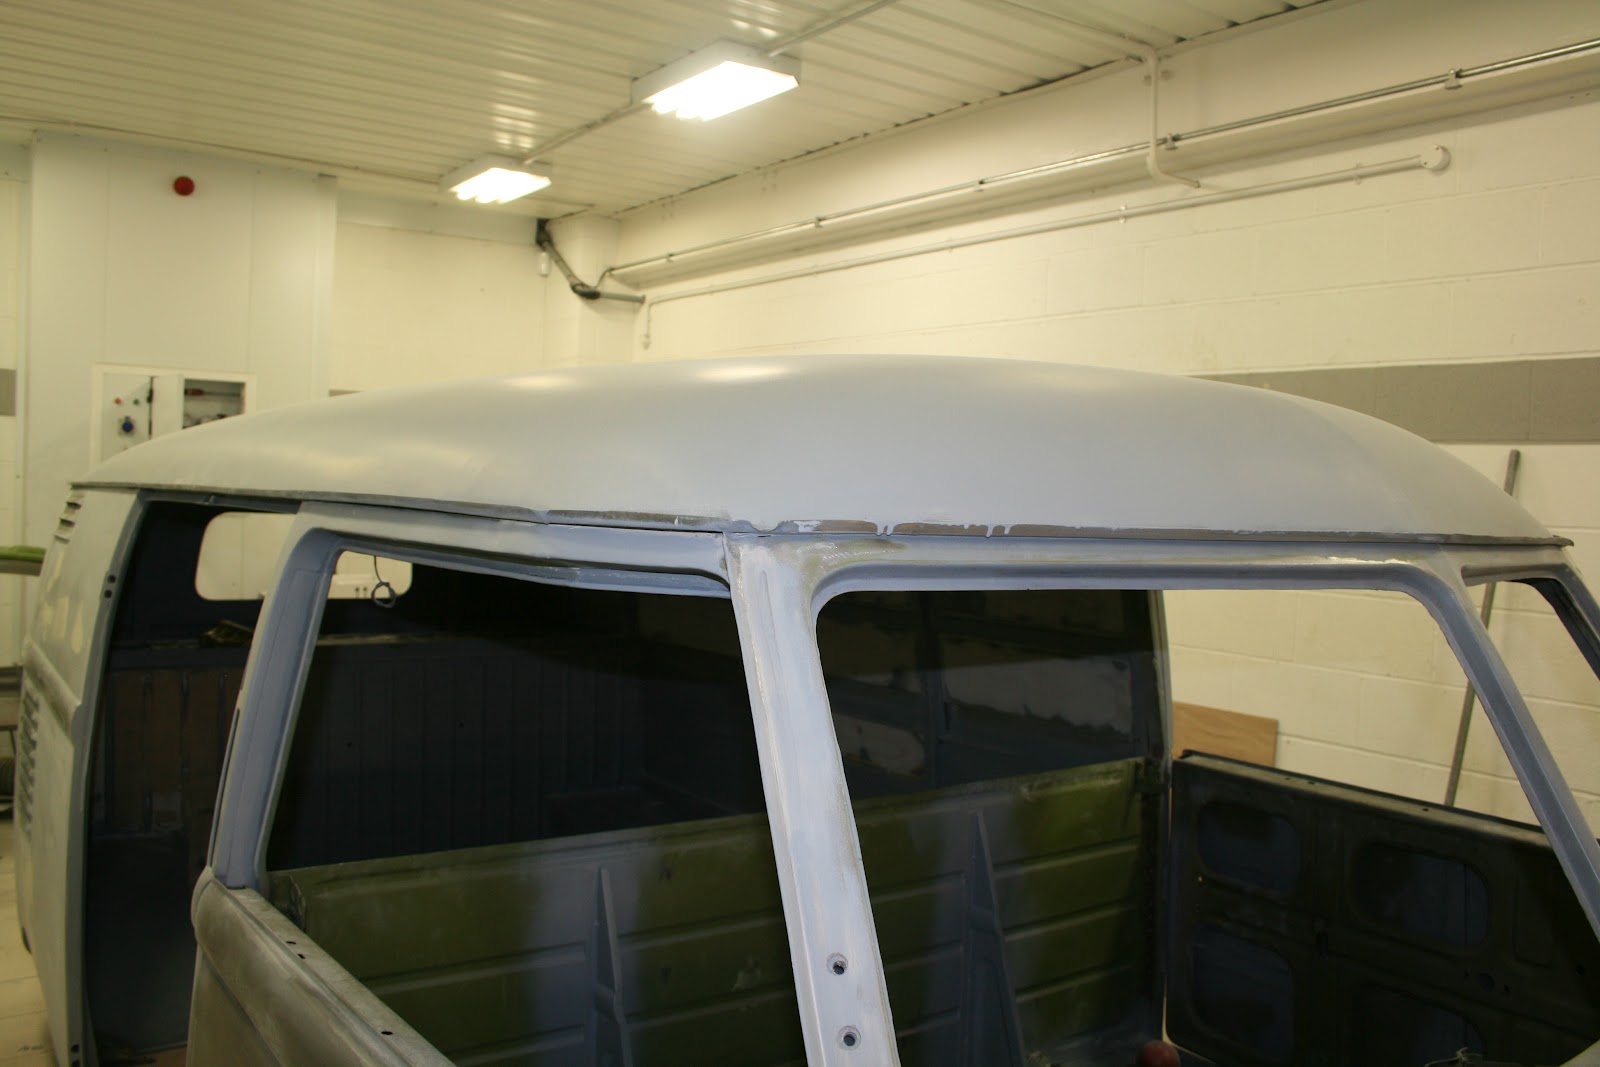
The roof area all now ready for final prep and primer


The door shut gaps looking awesome!! Perfect equal gap all the way around. That's what we want on all our doors! Equal spacing, smooth level fit.

Saturday, 29 September 2012

The Van Gets Primer

The nice guys down at Cotswold Group Bodyshop have been busy prepping the van. We had a quick visit yesterday to look at where they're at and were very impressed.

They've been blocking the roof, back and sides of the van. Basically, they apply a coat of black paint and then primer on top, then rub the primer down - as the black starts to appear underneath, they can detect the highs and lows of the bodywork to work out where the panels are not perfectly straight or level, then they know where to focus their attention on more bodywork. Then its all rubbed back again and the whole process begins with more black paint then the primer. They keep doing this until the body work is arrow straight then its rubbed back and gets its first coat of primer:

Below you can see some of the black under the primer:


You can see the profile of the swage line much clearer now there is some base colour on the front panel.