The rear cargo floors have now gone in. The floors are in two halves.
Now that there is more structure in the van, we can begin work on the rear firewall and bulkhead
Thursday, 26 April 2012
Monday, 16 April 2012
Engine Lid Work
We're re-using the original engine lid, but it needs lots of work to get it back to the original condition.
The support metal-work has been removed so Carl can work properly on the lid and get all the dents out of it:
Rear window repair
The metal work under the rear window had been badly welded in the past, but we cut the repair panel down to keep the original window frame intact. Next will be a trial fit of the rear window glass and seal.
Tuesday, 10 April 2012
Dry Fitting Parts
Before the van goes off for paint, its worth dry fitting some parts to make any adjustments now rather than after paint...
One windscreen glass fitted.This is just used glass, we have NOS glass to go in when the time is right!
Two windscreens fitted!
And the headlights and front badge all fitted too. Dry fitting parts ensures that when we re-build the van after painting, we know everything is going to fit ok
One windscreen glass fitted.This is just used glass, we have NOS glass to go in when the time is right!
Two windscreens fitted!
The seal around the headlight bowl is fitted into place. Click here to buy yours!
And the headlights and front badge all fitted too. Dry fitting parts ensures that when we re-build the van after painting, we know everything is going to fit ok
Seat Securing Tab
The lower seat pad is held in place with a metal tab that's welded to the seat base. This tab was missing from the panels, but we have detailed photos of other vans so by scaling up the photos and taking known measurements we can fabricate the tab and locate it in the exact position:
Saturday, 7 April 2012
Front panel 'V' repair
The Barndoor front clip we used was in amazing condition for a 60 year old panel (some of the warm, dry states of America to thank for that!!), but there had been a tiny amount of welding that had been badly done to the bottom of the 'V' section, so we cut it out and Carl fabricated a completely new piece from a flat piece of metal:
First, Carl took detailed measurements :
A panel was fabricated from flat metal:
The new panel is offered up into place to check its fit and alignment:
and finally welded into place and the welds ground-back
Some minor finishing will be required prior to a quick skim with primer.
First, Carl took detailed measurements :
A panel was fabricated from flat metal:
The new panel is offered up into place to check its fit and alignment:
and finally welded into place and the welds ground-back
Some minor finishing will be required prior to a quick skim with primer.
Thursday, 29 March 2012
Nearside Rear Corner
Not content with just working on the front of the van, we decided to do the other rear corner too, so off it came......
The engine post is in really good condition, requiring only a minor repair where the spare-wheel tray bolts into place.
The underneath of the parcel tray still has all the original cable clips in place that holds the wiring for the centre brake light and number plate light
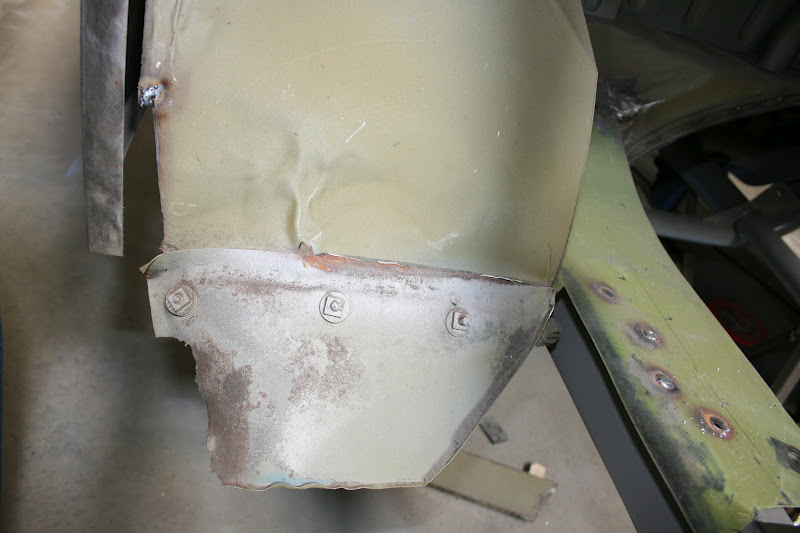
The lower part of the rear wheel arch tub is not so great. The rest of the wheel arch is in good condition. So, this will need to be cut out and replaced.
The side engine lid support is in really good condition with only a small repair required at the bottom of the foot where it meets the rear valence.
The engine post is in really good condition, requiring only a minor repair where the spare-wheel tray bolts into place.
The underneath of the parcel tray still has all the original cable clips in place that holds the wiring for the centre brake light and number plate light
The lower part of the rear wheel arch tub is not so great. The rest of the wheel arch is in good condition. So, this will need to be cut out and replaced.
The side engine lid support is in really good condition with only a small repair required at the bottom of the foot where it meets the rear valence.
Subscribe to:
Posts (Atom)