Friday 25 November 2011

More Chassis Paint

After the acid-etch primer has been applied, we then apply a coat of high-build primer. There's still hours and hours of work to do to the chassis in detailing it.


 You can see the underside of the chassis starting to look better now that it has some paint on it.

The high-build primer will show up any imperfections in the metal that we can then deal with.


Once all the chassis has been covered in high-build primer, we can then start to flat back using wet-n-dry sanding papers. Then we will start to get the level of finish needed for the main primer to go on. There will be several more stages involved in this high-build primer phase which all have to be flatted back.


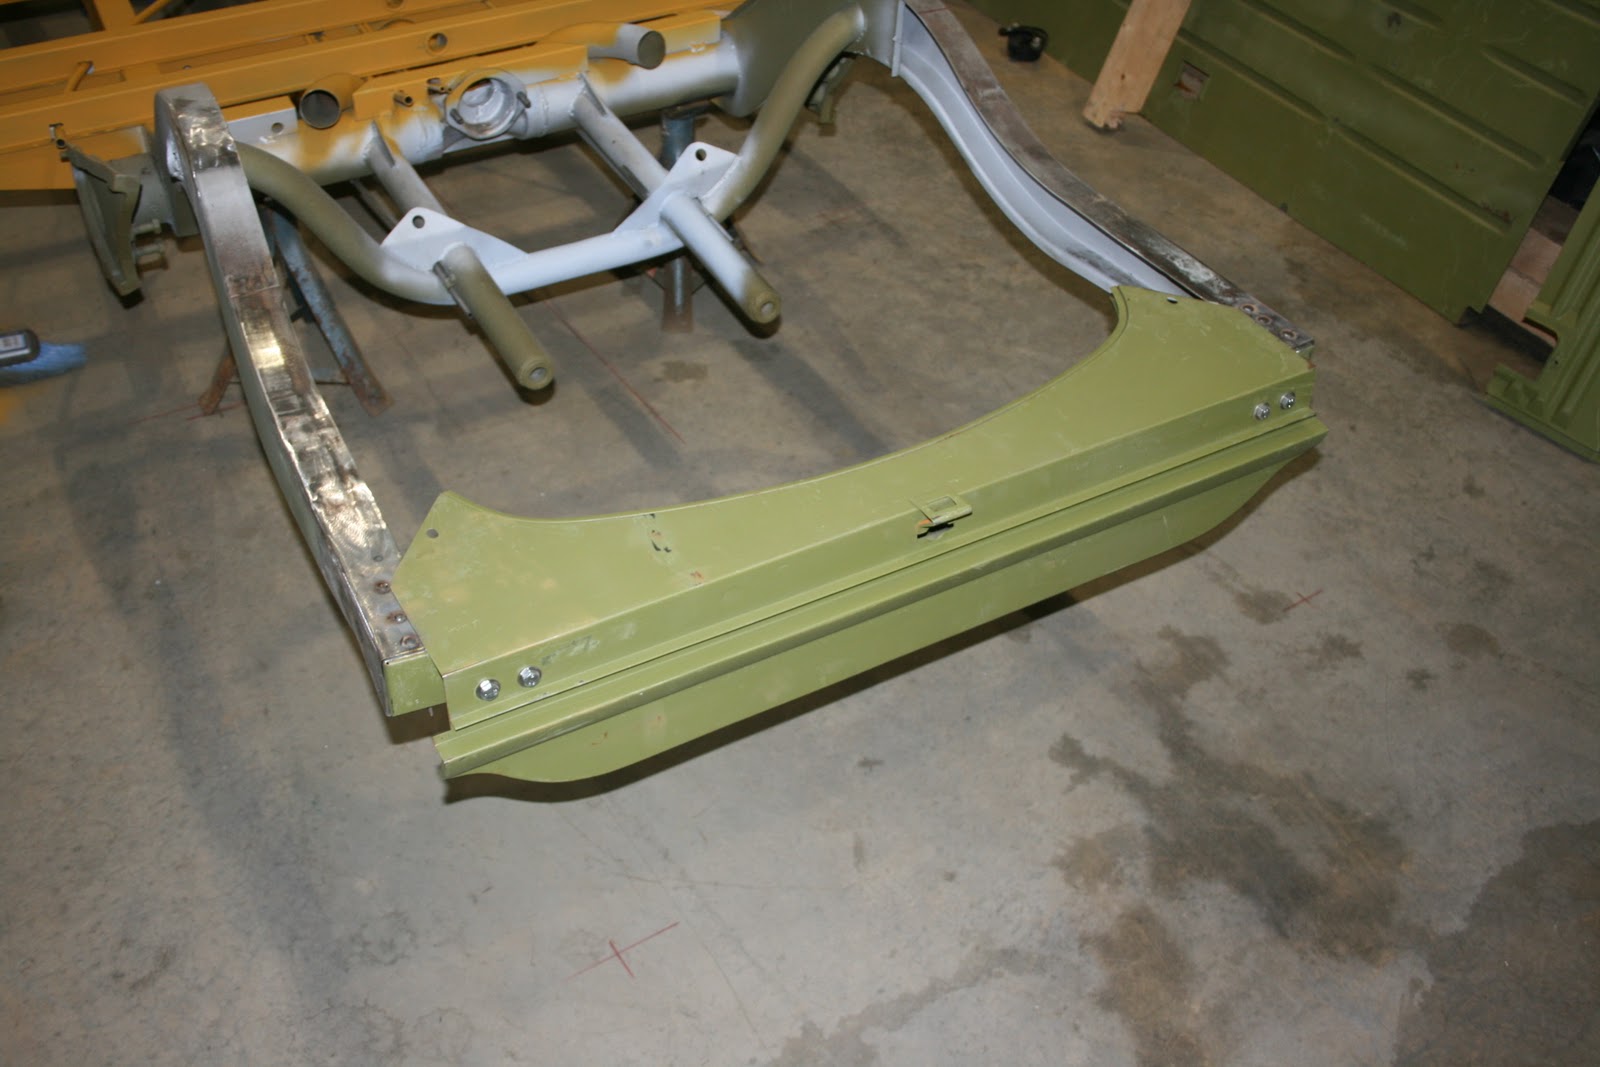
 Here you can see the weld join between the front and rear chassis rails. This is how the weld detail will look when finally painted.

Paint !!!

Paint!! Well, its not really paint, its the starting preparation for the paint.

Firstly any bare metal is cleaned right back and treated to a coat of acid-etch primer. This eats into the metal and gives us a good base to work from.


You can see the grey etch primer being applied to the bare metal areas. We do not leave any bare metal exposed. It very quickly starts to oxidise.

Here you can see the the main chassis rail and now with etch-primer you can start to see the finished detail in the welding. This is the level of detail we want to see when the final paint gets applied.

Rear Valence

We thought it would be a good idea to have a test fit of the rear valence. We first fitted the rear valence brackets to the chassis legs. All looking good upto now:


The valence brackets over-hang the chassis legs slightly. They are not supposed to be mounted flush. Early rear valence has no cut-outs for exhaust tail pipe.

Tuesday 22 November 2011

Front Chassis Parts

The last few bits of the front chassis are going in now and we've just some final detailing before the chassis can go off to be painted:

Here you can see the front piece between the chassis rails and the horizontal piece which forms the bottom of the tool chest. You can see the cable conduits for the choke and heater cables coming through this piece.

Underneath is like spaghetti junction!!! The conduits are all exactly in the correct places.


 The very far conduit is the clutch cable which has two tabs we have made to secure the conduit in place.


 Above and Below: the two tabs we have made to hold the clutch cable conduit into place

Saturday 19 November 2011

Detailing The Chassis

With the chassis virtually finished, we've started to do the detailing that we want to get it to the level we are happy with.

This involves putting on dress welds, grinding back welds so that when they are painted they look like factory spot welds.

Then we are going to carefully mask up each weld and seem-seal it for longevity, but again, when its painted, it will look like factory finish.


The front inner chassis piece you can see in the photo above will be welded in place later today to complete the chassis.

Friday 11 November 2011

The Front Chassis Gets Done

We finally got our last delivery of repair panels and we have cracked on with the front chassis.

The front chassis rails are in place, the frame liners are in place (well, tacked into place) and we've check fitted the inner front panel and the bumper too


If you look at the bottom of the frame liner, you will see all the holes that have been stamped out - this is for us to plug weld these panels together. Spacing on original factory welding is approximately 1 inch apart, but this gets closer together on curved sections and near joints, so where the panel curves, we will have more welds.

After some tweaking, the inner front panel is offered into place and the bumper bolted up, again just trying to ensure that the gaps are looking right even at this stage.

All looking in line from the front now.

You can see here more clearly where the frame liner will be welded into place and the spacing we've taken from original factory welding patterns.

Here the front chassis rail is closed off and you can see where the front top hat and the front cross member all join together. The conduit at the top of the picture is the clutch cable conduit.

The return lip on the frame liner with the holes ready for welding - this will eventually join onto the bulkhead panel.

Interior Cab Door Panels Arrive

The new interior cab door panels arrived this morning. We're really pleased with them.

They are finished in a satin-grey which was colour-matched from a NOS panel. The rivets holding the door pockets on are again identical to the originals. Pocket hole in the panel is more square shaped on barndoor vans than on later ones and the pocket itself is slightly a different size than the 55-61 type. These are the exact interior panels for Barndoor vans.


You can see below the detail on the rivets and the pockets:

Monday 7 November 2011

The Things We Do......

The things we do for Vintage Volkswagens....... yesterday (7th November, 2011) we had to go collect a huge batch of repair panels and two new cab doors for the van.......

It was a 19 hour day and we did 630 miles......

Just a tad bit tired today LOL.

Wednesday 2 November 2011

1st Powder Coating Batch

We've had our first batch of parts back from the powder coaters. We've used 3 different finishes, as per VW, these were: High-Gloss, Satin and Matt. The Colour Code for the Black is RAL9005 - this is the international standard colour code system and all painters / powder coaters will know this system and colour.

We used BG Pennys of Coventry for Powder Coating. They are the people that did the blasting of the van too. They also zinc-plated each item before it was powder coated. This gives a better finish and a much longer lasting finish also.

Gearbox side plates - GLOSS

Gearstick Base Bracket: GLOSS

Front Bumper Irons: GLOSS

Handbrake lever: GLOSS

Spring Plate Covers: Gloss

Brake, Clutch & Accelerator Pedals: GLOSS

Gearshift Rod Front Bracket: GLOSS

Steering Column Securing Bracket: GLOSS

Gearshift Rod Joiner: GLOSS

Interior Passenger Grab Handle: GLOSS

Gearstick: GLOSS

Axle Tube Brackets: MATT

Brake Line Bracket: MATT

Rear Brake Drums: MATT

Front Brake Drums: MATT

King Pin End Caps: GLOSS

Spindles: GLOSS

Link Pins (just the ends): GLOSS

King Pin Assemblies: GLOSS

Front Beam: GLOSS